How to Make a Marble Texture in Photoshop?
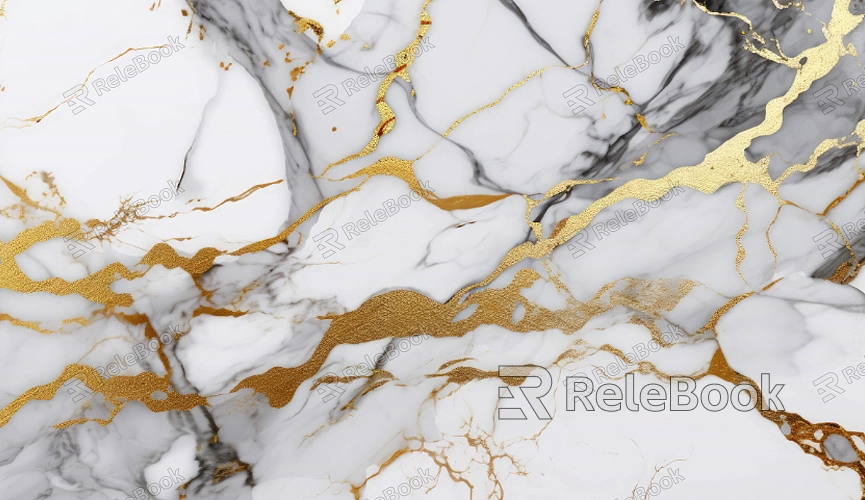
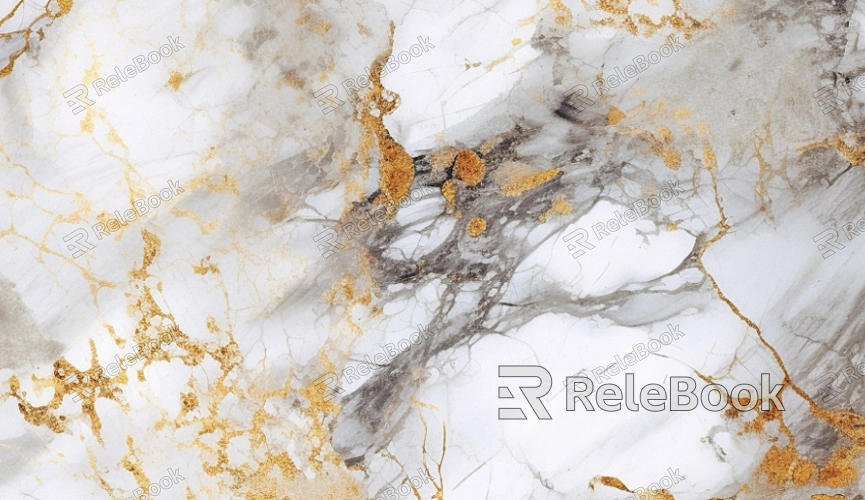
Marble is a highly sought-after material for its elegant appearance and unique veining patterns. Replicating marble’s intricate textures in Photoshop can add depth and sophistication to your designs, whether for backgrounds, architectural renders, or product visualizations. This article will guide you through the steps to create a realistic marble texture using Photoshop, from setting up your workspace to fine-tuning the details.

Preparing the Canvas and Color Palette
Start by setting up your Photoshop workspace with a new document. The resolution should be high enough to ensure quality in your final texture, typically around 300 DPI. Choose a canvas size that matches your project requirements—whether it’s for a large image or a smaller texture map. Once the canvas is ready, it's time to select the base color palette. Marble typically consists of neutral shades like whites, grays, and beiges, with veins of darker colors such as black, gold, or dark brown. Select a few shades that you’ll use to simulate the natural variations in marble. A simple gradient of these tones will serve as the foundation for your texture.
Creating the Base Texture
To create the underlying texture of marble, we will start by filling the canvas with a gradient. Go to the gradient tool and set it to a linear or radial gradient, depending on the effect you want. For a traditional marble look, choose a soft, smooth gradient with subtle shifts between your selected colors. Apply the gradient across the canvas, ensuring that it’s not too harsh, as you want to mimic the smooth, layered look of marble.
Once you’ve applied the gradient, use the "Noise" filter to add a bit of texture. Go to Filter > Noise > Add Noise and adjust the amount to create a slightly grainy effect. This helps in replicating the randomness and organic feel of marble. After applying the noise, set the layer to a low opacity or use a soft eraser to blend it into the gradient, creating a more seamless look.

Adding the Veins
Marble's distinctive look comes from the veins running through it, and in Photoshop, we can simulate this effect using the "Clouds" filter. Create a new layer above your gradient and fill it with the color you want for the veins—usually a dark color like black or deep brown. Then go to Filter > Render > Clouds. This will generate a random, cloudy pattern that resembles the veining in marble.
To refine the veining, go to Filter > Distort > Twirl and apply a slight twist to the cloud pattern. You can adjust the strength of the distortion until the veins resemble the natural flow and movement seen in marble. Use the "Gaussian Blur" filter to soften the veining, making it look more organic and less sharp.
To make the veins stand out more, set the layer mode to "Overlay" or "Soft Light." This will blend the veins into the base texture, creating a realistic look. You can also adjust the opacity of the layer to control how prominent the veins appear.
Refining the Details and Adding Realism
To enhance the realism of the marble texture, we can use a few additional techniques. First, apply a subtle "Noise" filter to the veins layer to add some texture. This will make the veins look more like natural streaks running through the marble.
Next, consider adding slight cracks or imperfections to the texture. Marble surfaces are rarely perfect, so adding small, irregular cracks can help to make the texture more believable. You can do this by using the "Brush" tool with a textured brush to paint fine cracks or use the "Polygonal Lasso" tool to create sharp, jagged edges that resemble cracks, then apply a layer style like "Bevel & Emboss" to give them depth.
Additionally, adjust the contrast and brightness of the texture to bring out the details. Use Levels or Curves to fine-tune the lightness and darkness of different areas. A well-balanced contrast helps to simulate the polished look of marble, where light reflections play off the smooth surface.
Finalizing and Saving the Texture
Once you’re happy with the overall texture, it’s important to make any final adjustments. Review the pattern for any areas that might need more veins or subtle shifts in color. You can add additional layers to create depth, especially if you want to simulate the glossy finish of polished marble. You can do this by creating a new layer, filling it with a soft gradient, and lowering its opacity to create the appearance of a reflective surface.
Finally, save your marble texture in the appropriate format for your project. If you intend to use it as a seamless texture, make sure to export it in a tileable format like PNG or JPEG. If you need a high-resolution map for 3D modeling, save it as a TIFF or EXR file for maximum detail.
Creating a marble texture in Photoshop is a process that requires attention to detail and a blend of various techniques to achieve a realistic effect. By carefully manipulating gradients, noise, veining patterns, and layer styles, you can create a stunning marble texture suitable for a wide range of design projects. Once you’ve mastered the process, you can use these skills to develop textures for 3D models, backgrounds, and more. For further inspiration and high-quality assets, visit Relebook’s website, where you can download a wide selection of 3D models and textures to enhance your creative work.
FAQ
Can I make a marble texture from scratch without using any existing images?
Yes, it’s entirely possible to create a marble texture from scratch using Photoshop’s tools. By utilizing gradients, noise, filters, and layer effects, you can replicate the appearance of marble without relying on external images.
How do I make my marble texture more realistic?
To make your texture more realistic, focus on the details. Add subtle color variations, adjust the contrast, and incorporate imperfections like cracks. Using blending modes, noise, and the "Gaussian Blur" filter will help create a more natural, organic feel.
How can I make the veins stand out more in my marble texture?
You can make the veins stand out by adjusting the opacity of the veins layer, using a darker color for the veins, or applying a layer style like "Outer Glow" or "Drop Shadow." Blending modes such as "Overlay" or "Soft Light" can also enhance the veins’ appearance.
Can I create a marble texture for 3D modeling?
Absolutely! Once you’ve created your marble texture, you can save it in a high-resolution format like TIFF or EXR for use in 3D applications. Be sure to test the texture’s tiling and make sure it works seamlessly when applied to a 3D model.

